Learn How to Draw a Stork step by step for kids
STEP 1
Mark the width and height of the image. Drawing two ovals will help determine the position of the head and trunk of the stork. Drawing a line, it will act as a beak. Add the top of your baby and diaper.
STEP 2
Drawing bird’s neck. Add a tutorial for its tail. Sketch of diapers.
STEP 3
Locate the baby’s leg. More instructions for the wings, legs and mouth of the stork.
STEP 4
Mark the shape of the bird’s legs, wings and beaks. Outline your baby’s legs.
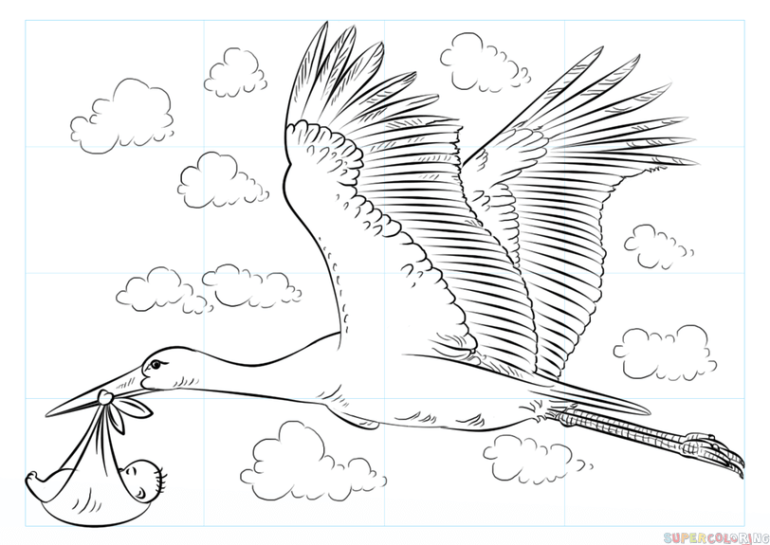
STEP 5
Add the eye, toes, and tail of the stork. Detail its wing shape. Go through the baby’s feet and toes and diapers in more detail.
STEP 6
Work on the picture, paying particular attention to detail.
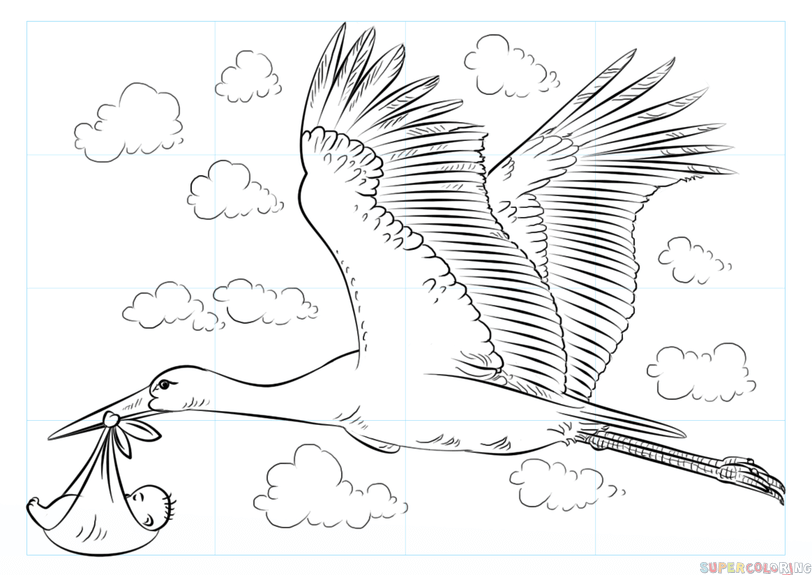
STEP 7
Stripe the trigger with the baby, trying to change the thickness and shadow of the line. More details. Remove all guidelines.
You can refer to more video tutorial and step by step on the website:http://htdraw.com
